

Social media managers and content creators are facing a common headache: the cost of automating X.com (formerly Twitter) posts has skyrocketed. Since Make.com dropped their official X integration in April 2025, users have been forced to look for alternatives. But here’s the good news—you don’t need coding skills or expensive services to automate your X.com posting. Using Make.com’s HTTP module combined with X’s free API tier, you can post up to 500 times monthly without spending a rupee beyond your Make.com subscription (₹312–749 USD $3.75–$9 approx per month).
X (Twitter) Custom App for Make.com – Advanced Automation
Connect your X (formerly Twitter) account to Make.com to automate posts, reliably upload large media files, and manage audience engagement. This custom app gives you full control by letting you use your own X API credentials and personal rate limits.
- 🚀 Post, Like & Repost: Automate the creation of posts, polls, and engagement actions like liking and reposting content.
- 📸 Advanced Media Workflow: A full suite of modules to upload large videos and images, add Alt Text, and check processing status, designed to avoid timeouts.
- 🔑 Use Your Own API Quota: Connect your personal X Developer App to use your own API limits—perfect for the Free Tier.
Getting Started:
- First, get your free Make.com account if you don’t have one.
- Create a free app on the X Developer Portal.
- Set permissions to “Read and write” and configure the app as a “Web App”.
- In the “Callback URI / Redirect URL” field, you must enter:
https://www.integromat.com/oauth/cb/app - Copy your Client ID and Client Secret into the connection settings in Make.com.
Get the app now to unlock powerful X automations!
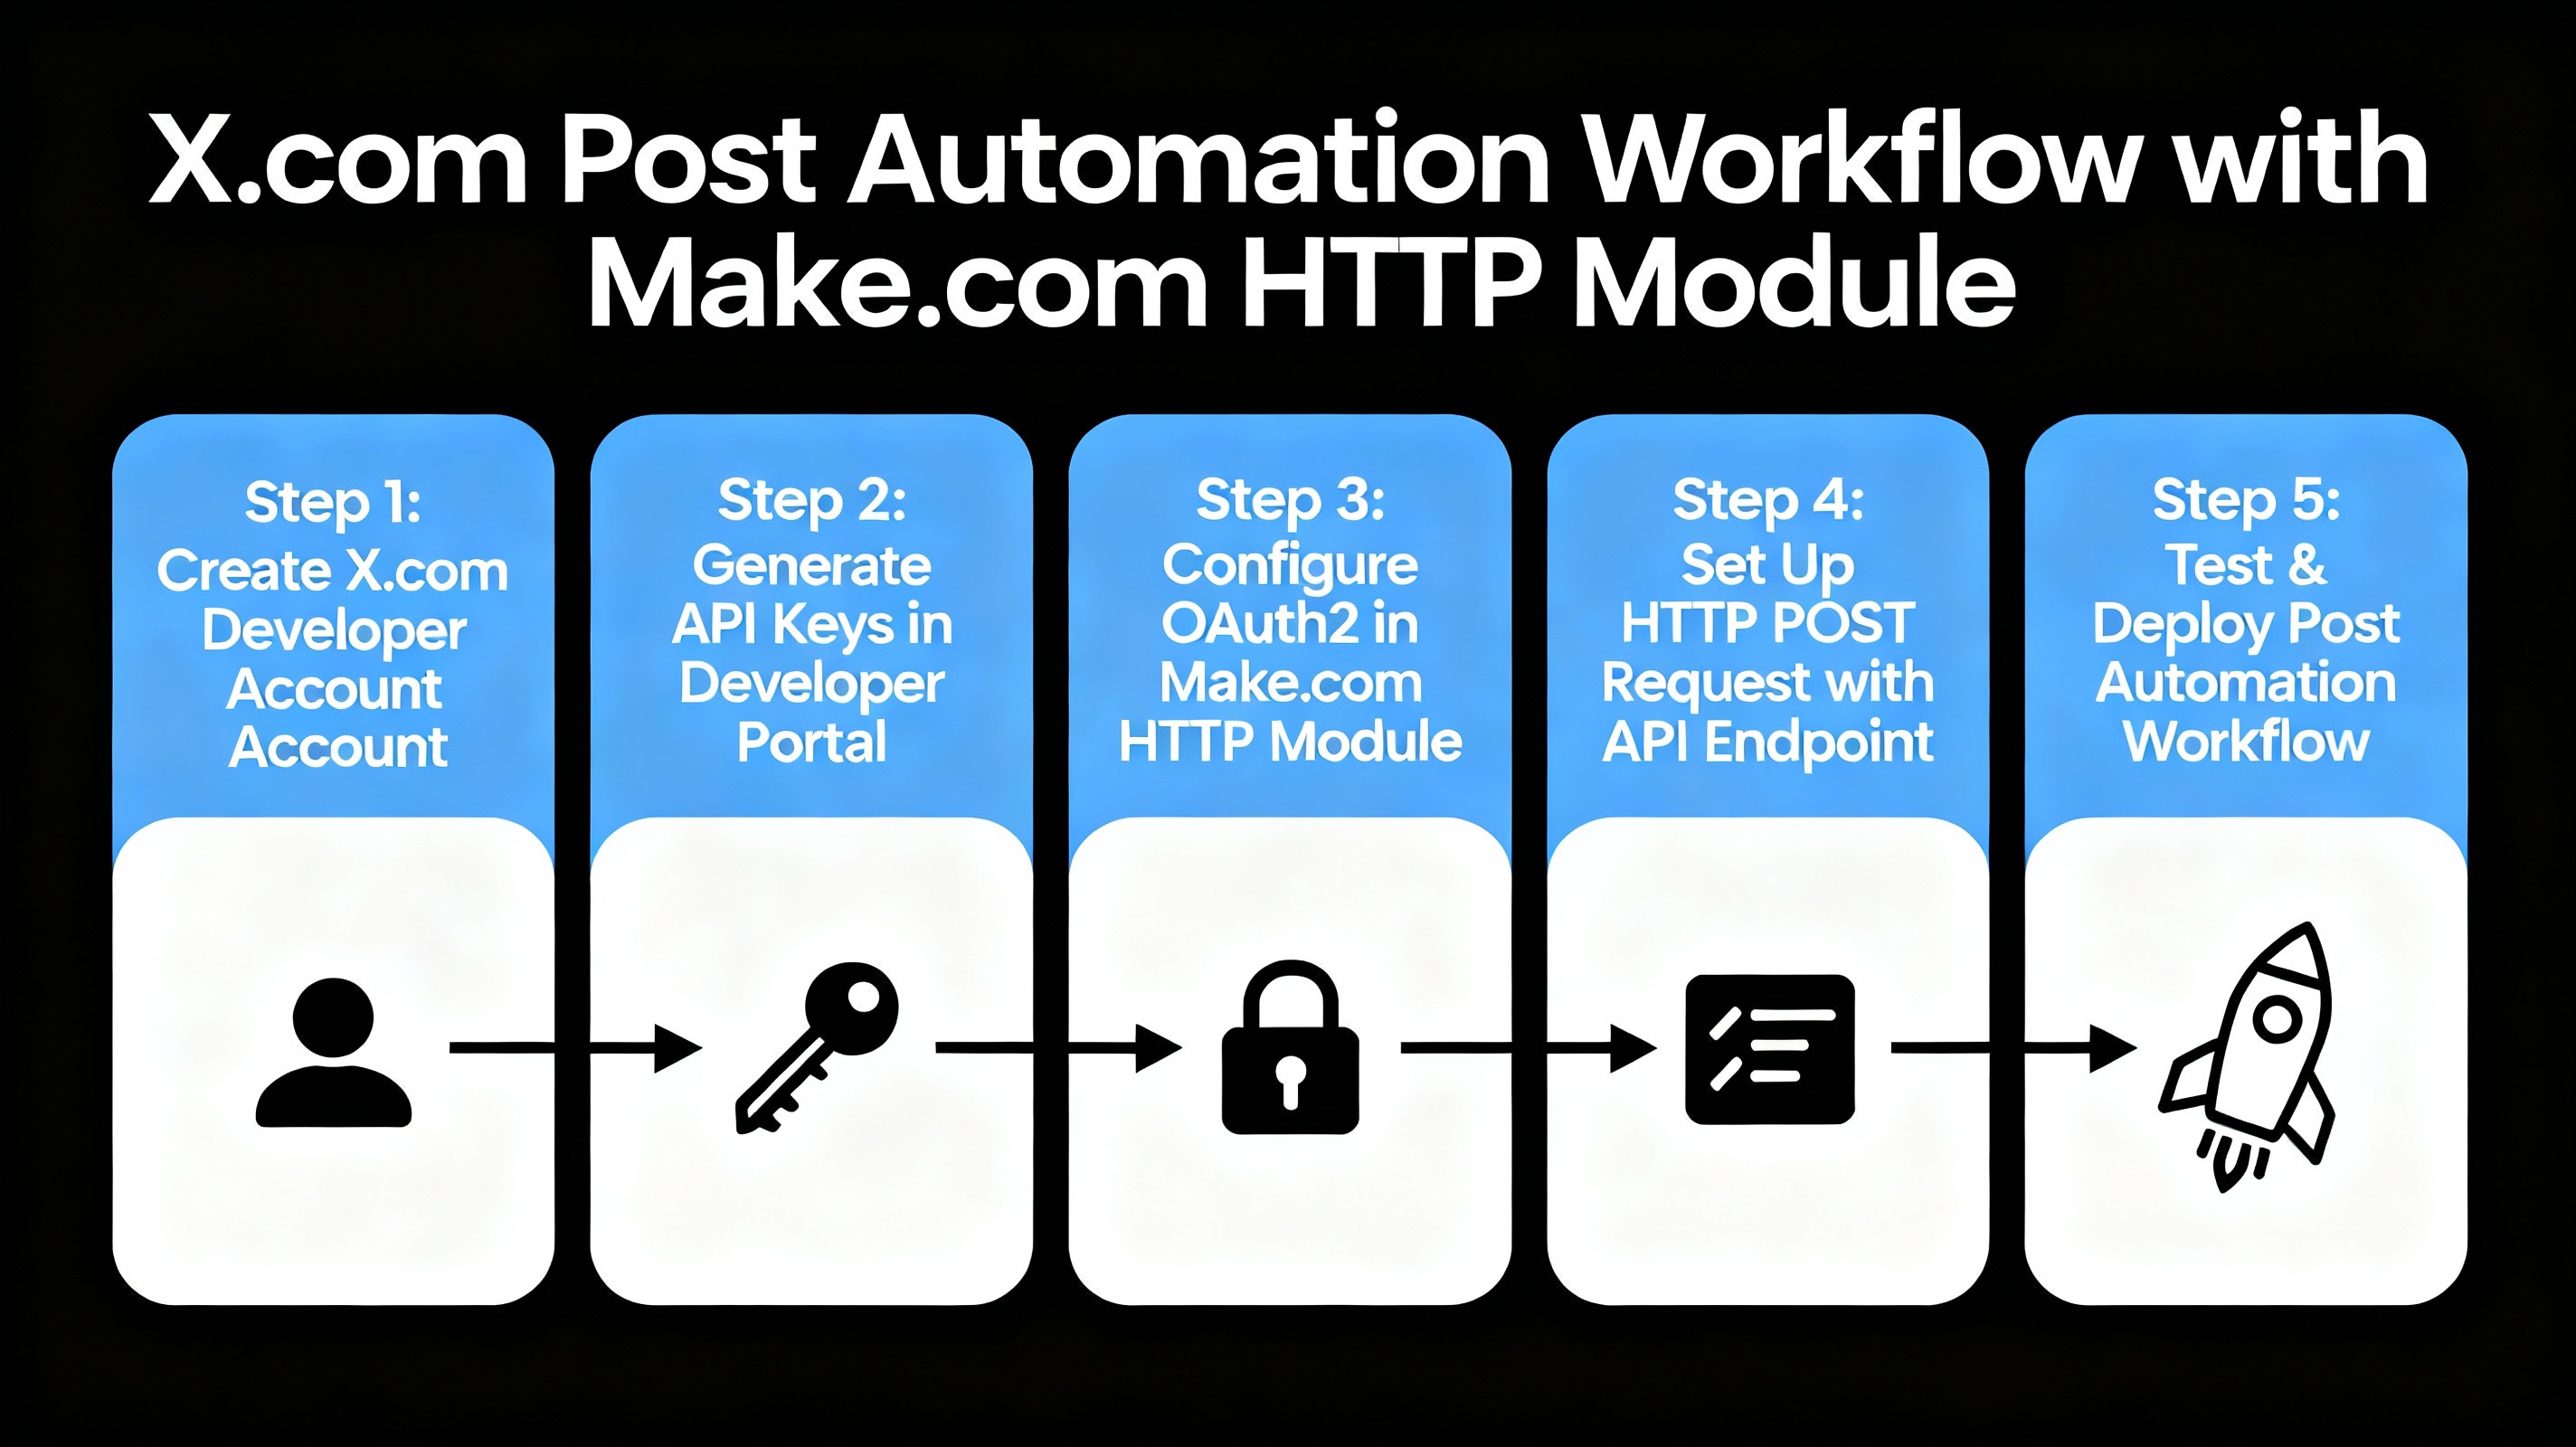
Why Your Old X Automation Just Broke
Make.com’s native X connector relied on API endpoints that became prohibitively expensive after Elon Musk’s management took over. Third-party automation services now charge ₹35,000–52,500 USD $5,000–$7,000 monthly just to offer basic posting features. This created a void for smaller creators and solopreneurs. The solution? Use Make.com’s flexible HTTP module to communicate directly with X’s API—the same method developers have used for years. You’re essentially building a tiny bridge between Make.com and X without touching a single line of code.
Understanding X.com’s Free API Tier (And Why It’s Actually Enough)
X offers a free Essential tier that grants 500 write operations per month—enough for one post every 1.5 hours if you maximize your quota. While paid tiers (starting at ₹35,000+ USD $500+/month) offer more capacity, the free tier is ideal for personal brands, small businesses, and content testing.
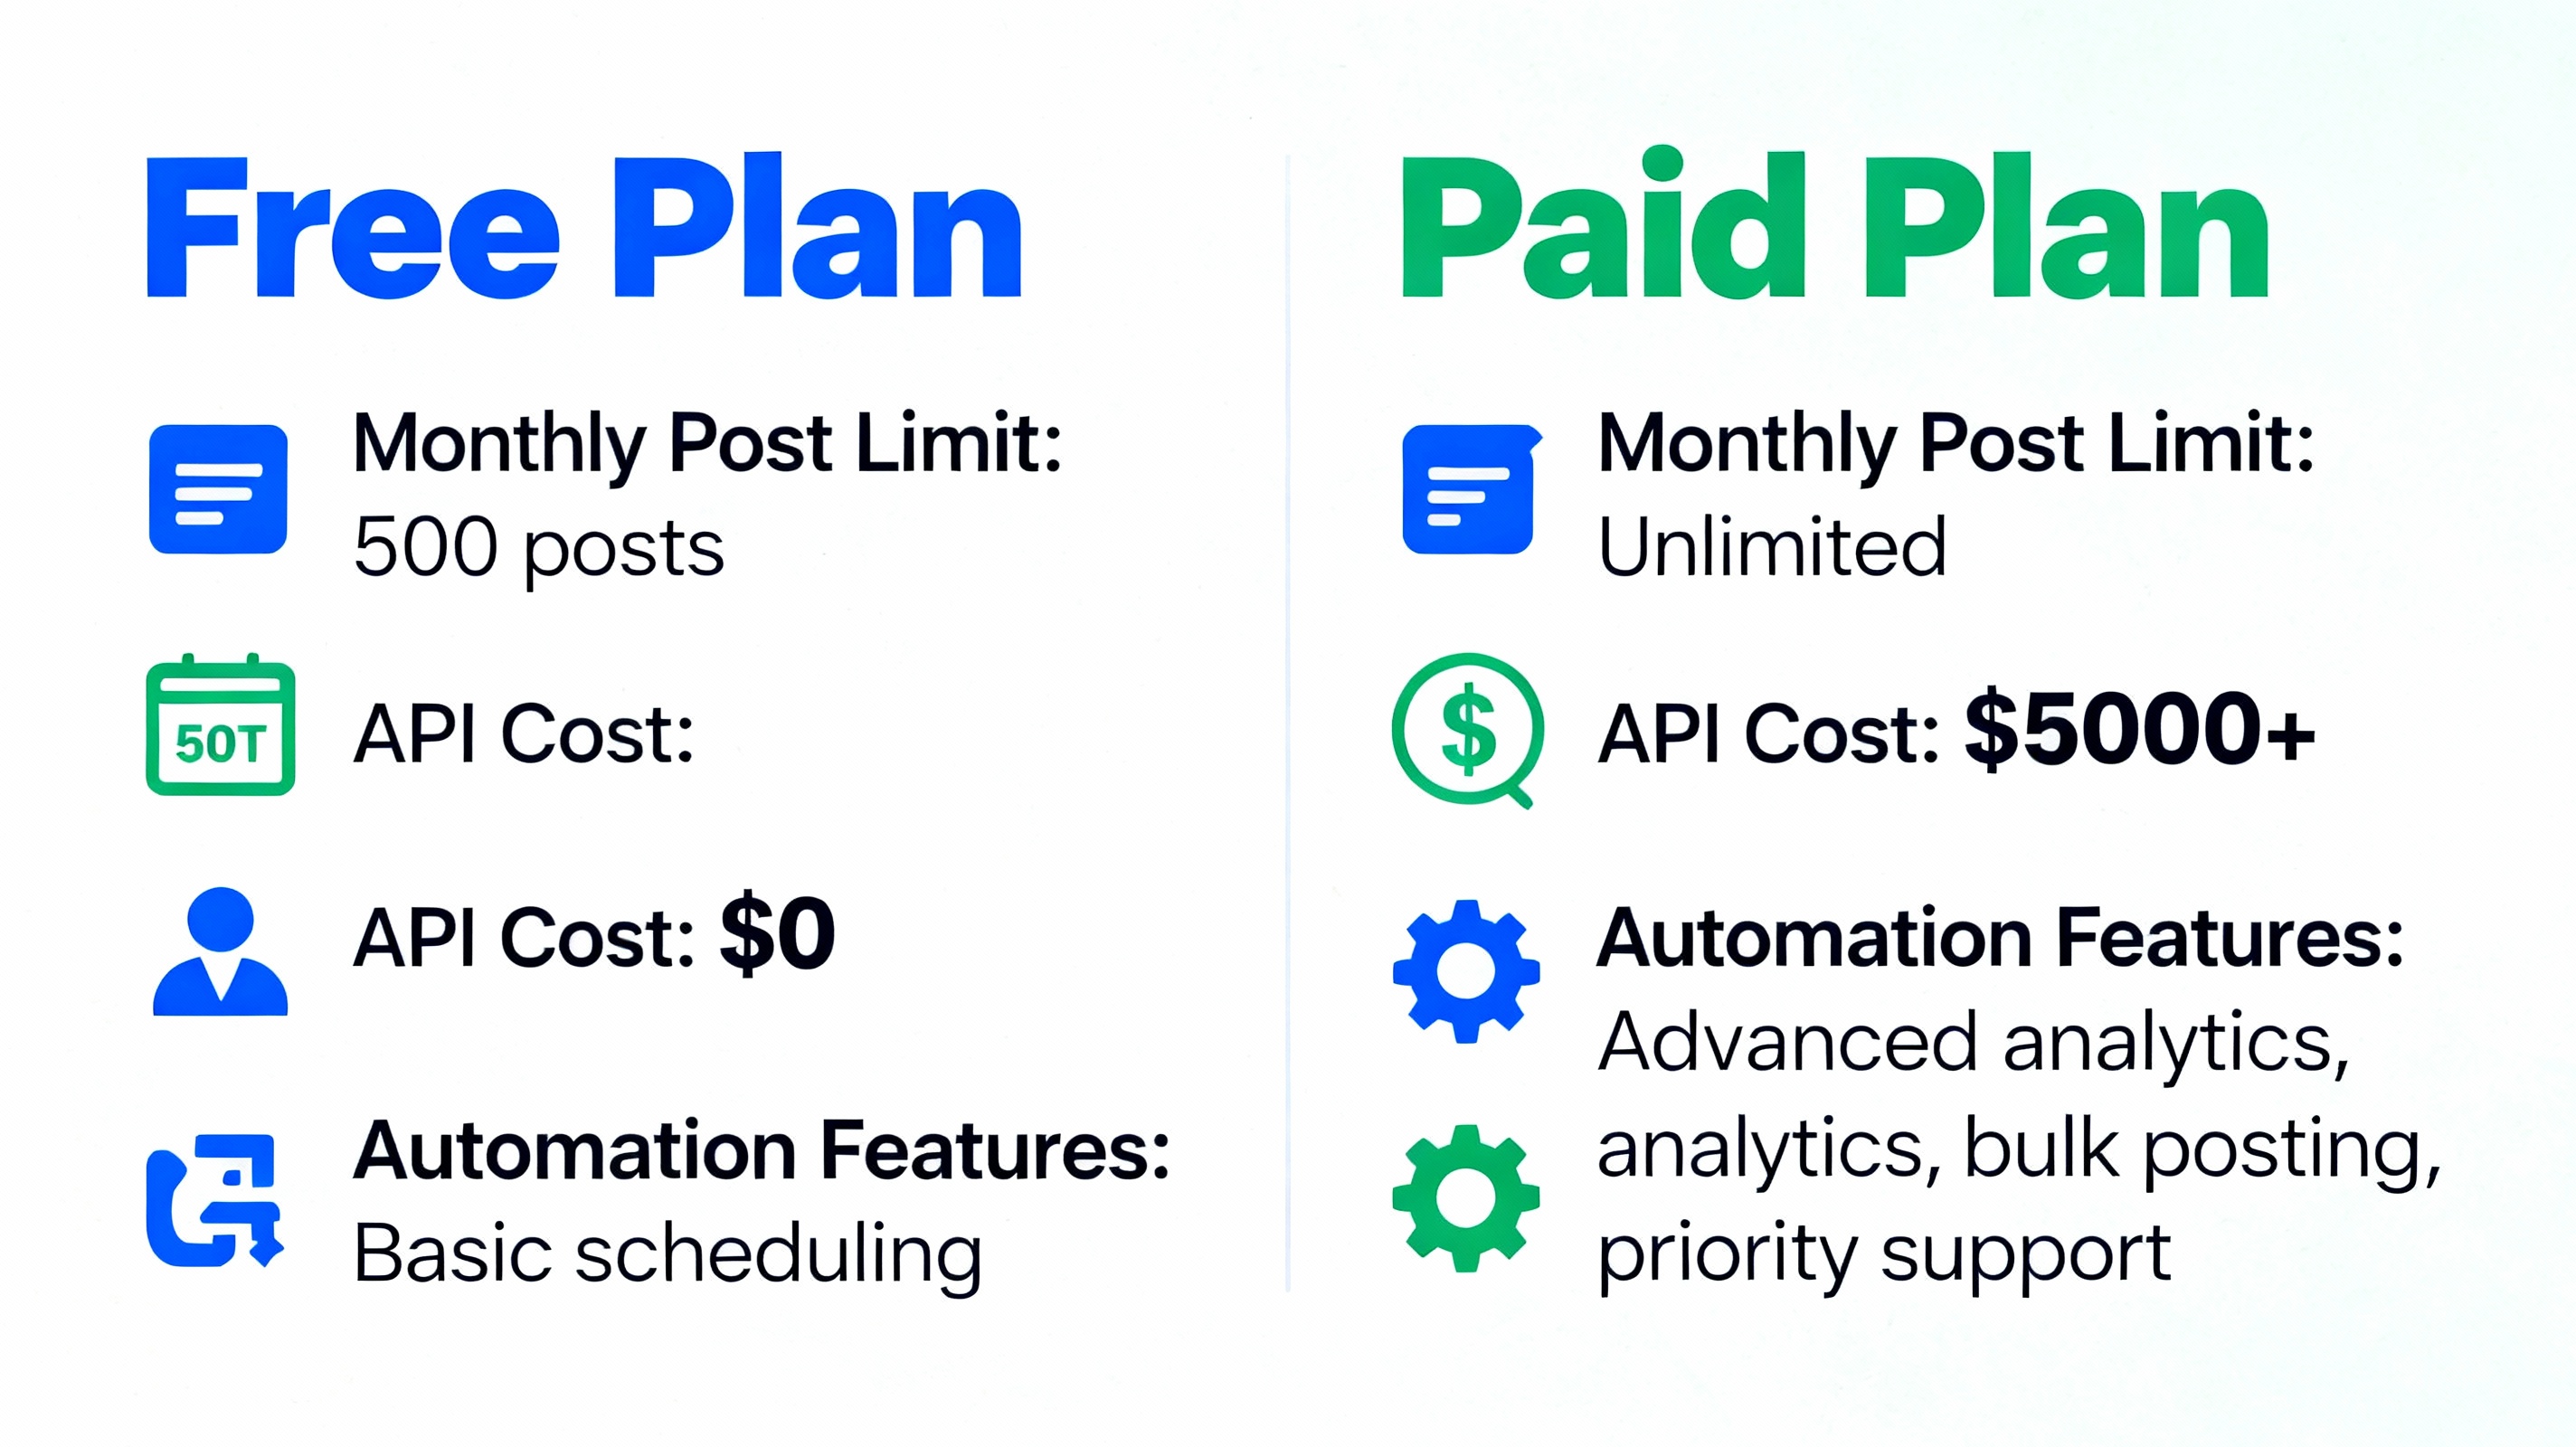
Here’s what you get with the free tier https://docs.x.com/x-api/introduction:
✅ 500 posts per month (approximately 16 per day)
✅ Full access to post creation, replies, and quote tweets
✅ Image and video upload support (up to 500 MB files)
✅ User data retrieval and search functionality
✅ Poll creation with custom options
⛔️ Limited rate-limiting on certain endpoints (but sufficient for automation)
Creating Your X Developer Account: A Beginner’s Walkthrough

Step one is the easiest—set up your developer account at https://developer.x.com. This is X’s official developer portal where you’ll get your credentials.
👉 Visit the X Developer Platform and click “Sign Up” or sign in with your existing X account
👉 Fill out the basic information about why you want API access (write something honest like “I want to automate my daily posts”)
👉 Once approved (usually within minutes), navigate to your apps dashboard
👉 Click “Create App” and give it a memorable name like “ContentBot” or “DailyPoster”
👉 You’ll immediately see your API Key and API Secret—these are your credentials to the kingdom
Pro tip: Store these credentials securely. Never share them publicly, and consider using Make.com’s secure connection storage feature rather than pasting them directly into scenarios.
Setting Up OAuth2 Authentication (Explained Simply)
OAuth2 sounds complicated but it’s actually just a secure handshake between Make.com and X. Instead of storing your password, you’re creating a temporary permission token that Make.com uses to post on your behalf.
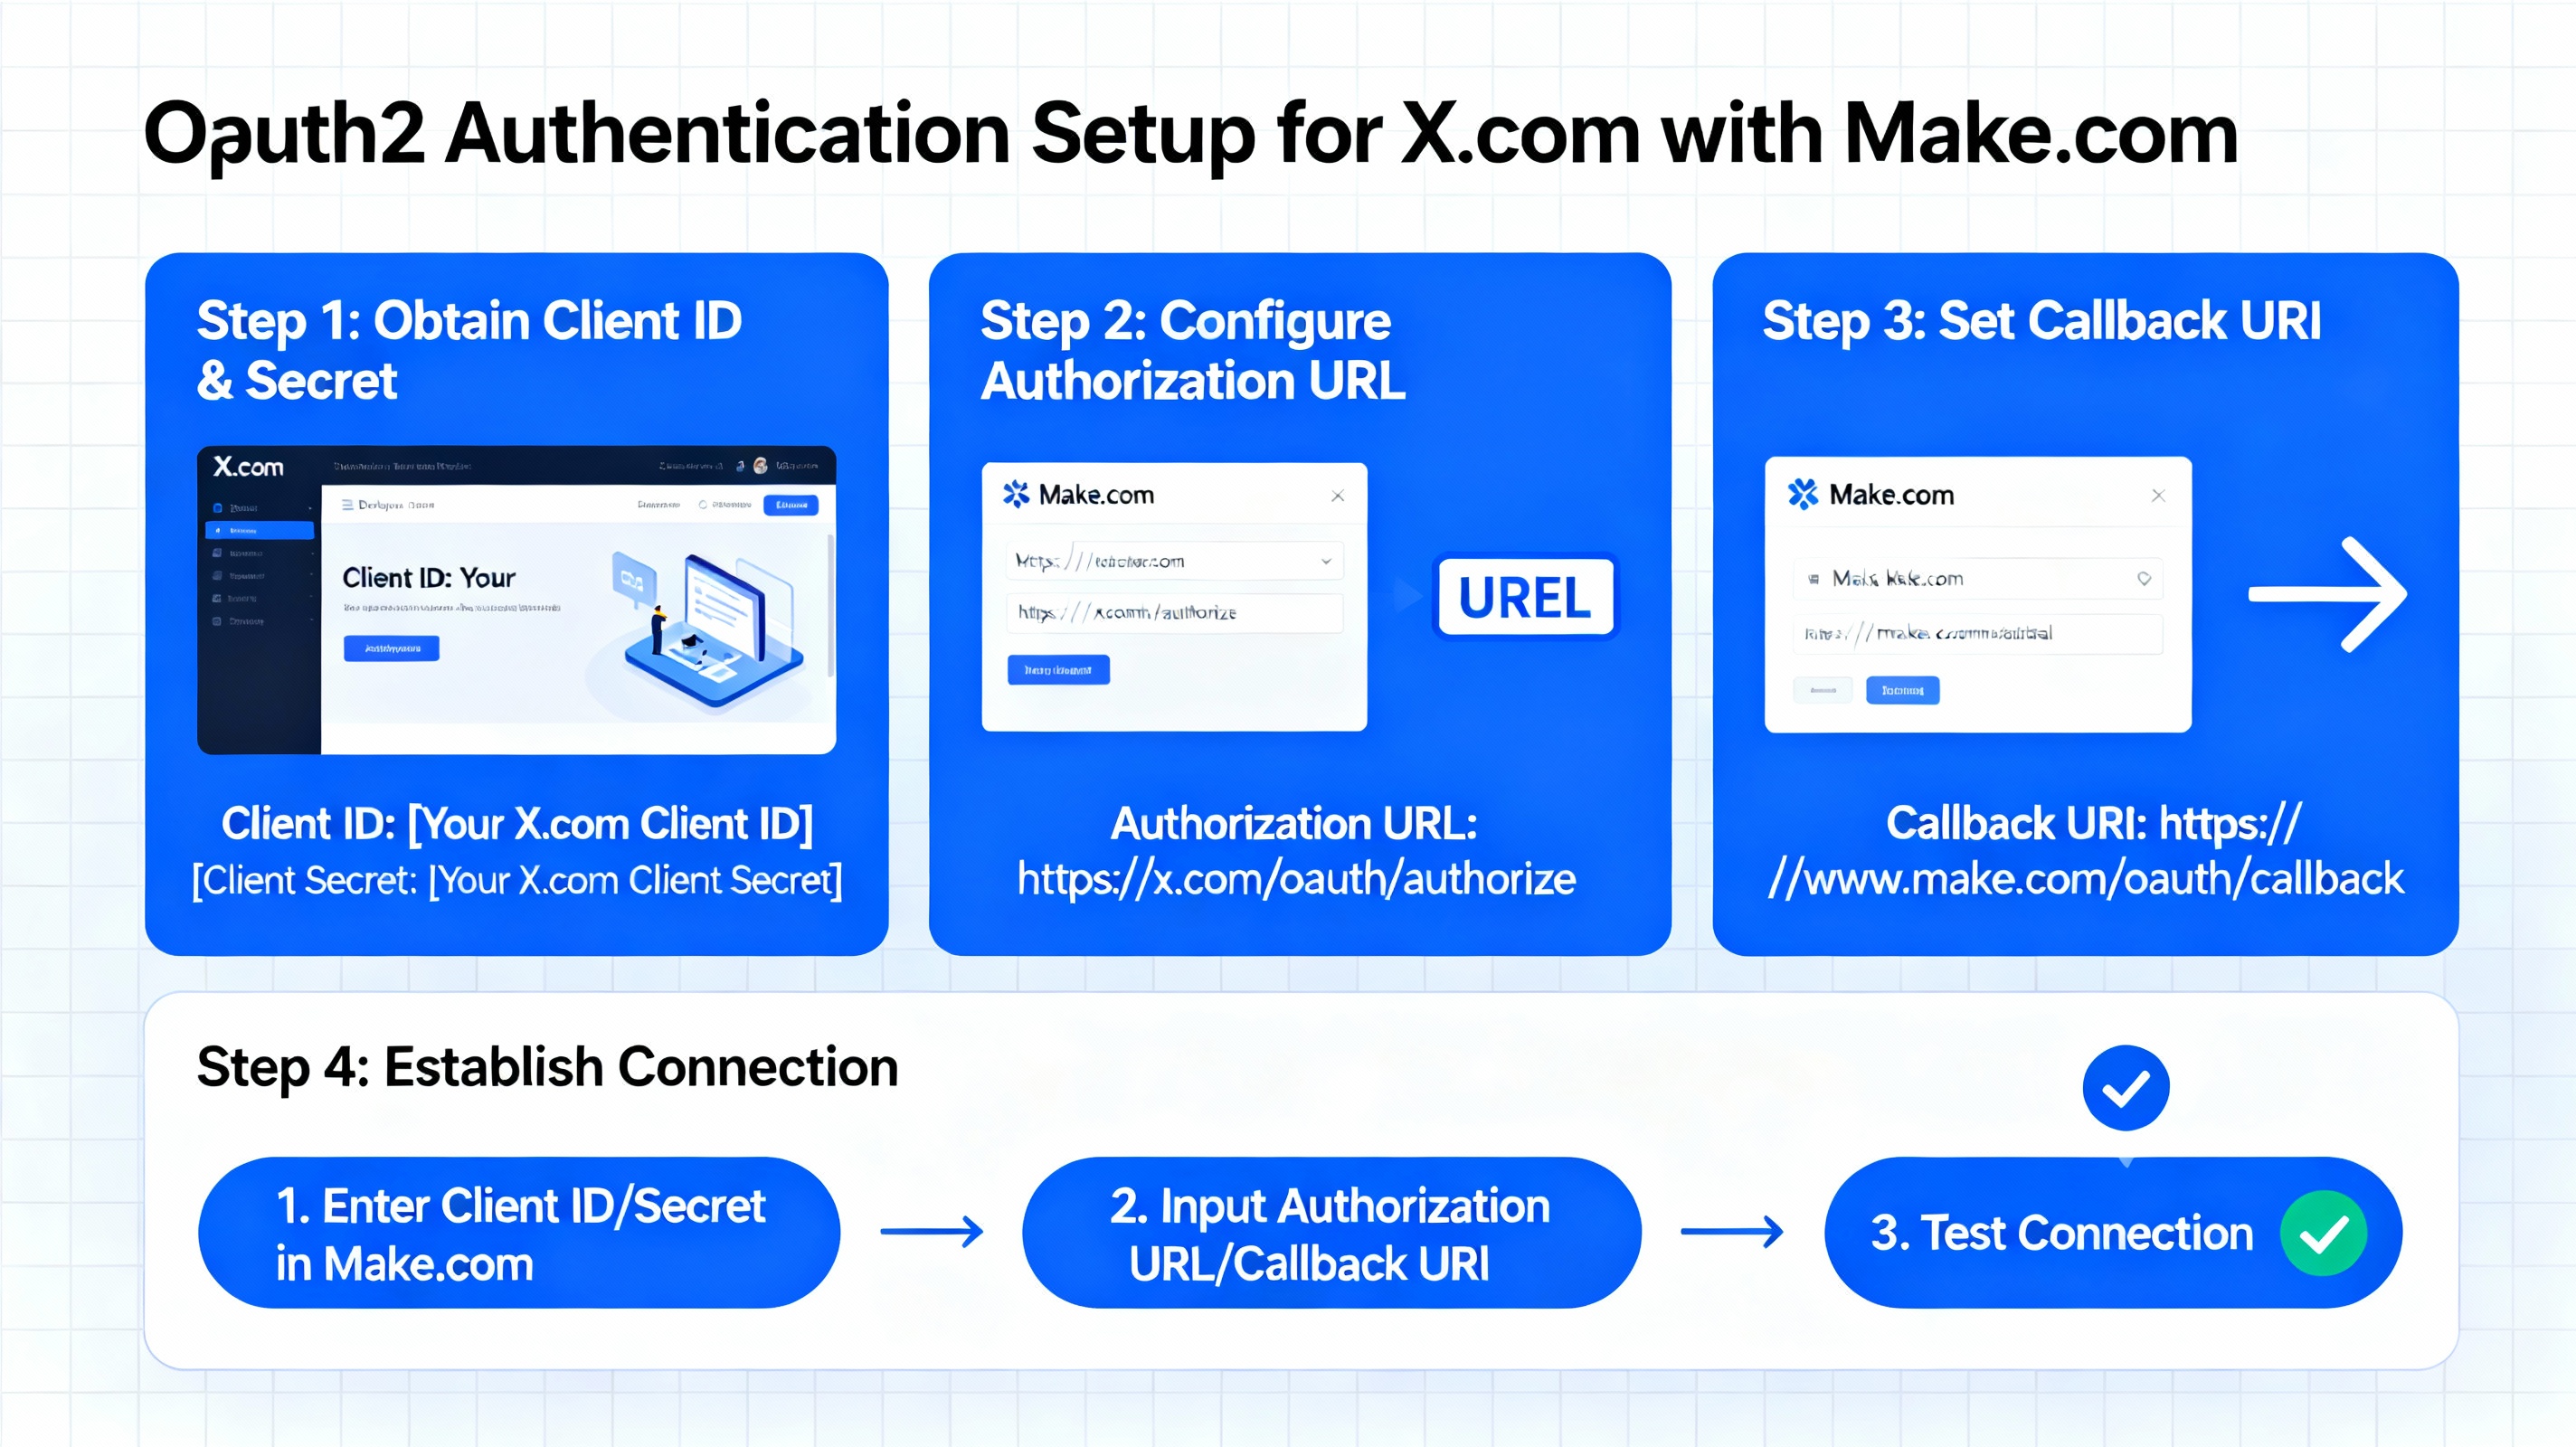
Here’s the plain-English version:
- Copy Your API Credentials: From your X Developer app, grab the API Key (also called Client ID) and API Secret
- Create a Make.com Connection: In your Make.com scenario, add an HTTP module → select “Make an OAuth 2.0 Request”
- Add Your Credentials: Paste the API Key as your Client ID and API Secret in the designated fields
- Set the Authorization URL: Use
https://twitter.com/i/oauth2/authorize - Add Scopes: Select “tweet.write” and “users.read” to give Make.com permission to post and read user data
- Save and Authorize: Click “Save,” then authorize when the popup appears
You’ll see a redirect URL generated—this is Make.com’s callback address where X sends back your authorization token. This happens automatically; you don’t need to touch it.
Building Your First Automation: The HTTP Module Setup
Now for the practical part. You’re going to build a scenario that posts text to X.com using nothing but the HTTP module.
Step 1: Set Up Your Trigger
Create a new scenario in Make.com and choose any trigger you like:
- 📌 A webhook (for real-time postings from external apps)
- 📌 A schedule (to post automatically every morning at 9 AM)
- 📌 A Google Sheets row (to post from a spreadsheet of content)
- 📌 A Telegram message (to post from your phone)
Step 2: Add the HTTP Module
Add a new module and search for “HTTP.” Choose “Make a Request.”
Step 3: Configure the Module (The Magic Happens Here)
This is where you tell Make.com exactly what to send to X:
- URL: Enter
https://api.x.com/2/tweets - Method: Select POST (you’re adding new data, not retrieving it)
- Headers: Add these three headers:
- Name:
Authorization| Value:Bearer YOUR_BEARER_TOKEN(we’ll get this next) - Name:
Content-Type| Value:application/json
- Name:
- Body Type: Select “Raw”
- Body Content: Paste this JSON:
json{
  "text": "Your post content goes here"
}
Getting Your Bearer Token
Your Bearer Token is different from your API Key. Think of it as a temporary access pass. Here’s how:
→ Go back to your X Developer App settings
→ Scroll to “Authentication Tokens”
→ Under “Access Tokens,” click “Generate”
→ Select “Read and Write” permissions
→ Copy the “Bearer Token” that appears
Store this in a Make.com variable or a secure password manager. In the HTTP module header, replace YOUR_BEARER_TOKEN with this actual token.
Creating Dynamic Posts (Turning Static Automation into Smart Automation)
The example above posts the same message every time—boring. Let’s make it dynamic.
Instead of hardcoding text, use Make.com’s mapping features to pull content from other sources. For example:
Posting from Google Sheets:
- Add a Google Sheets module first (Choose “Watch Changes” to monitor new rows)
- In the HTTP body, map the sheet column to your text:
json{
  "text": "{{1.A}}"
}
Replace {{1.A}} with your actual Google Sheets column reference from Make.com’s mapper.
Posting from External APIs:
Pull content from a newsletter API, blog RSS feed, or AI writing tool, then map it into the X post. The HTTP module becomes your universal connector.
Adding Images, Videos, and Polls (No-Code Advanced Moves)
For Images:
- Add a module to download the image file (Dropbox, Google Drive, etc.)
- In the HTTP module, add a second POST to upload the media first
- Use this endpoint:
https://upload.twitter.com/1.1/media/upload.json - The response gives you a
media_id - In your main tweet POST, add:
json{
  "text": "Check this out!",
  "attachments": [
    {
      "media": {
        "media_ids": ["MEDIA_ID_HERE"]
      }
    }
  ]
}
For Polls:
json{
  "text": "Which framework should I learn?",
  "poll": {
    "options": ["React", "Vue", "Svelte", "Angular"],
    "duration_minutes": 60
  }
}
For Quote Tweets:
json{
  "text": "This is brilliant! ↓",
  "quote_tweet_id": "TWEET_ID_YOU_WANT_TO_QUOTE"
}
Common Mistakes That Break Your Automation (And How to Fix Them)
⛔️ Forgetting to Regenerate Tokens: X tokens expire. Regenerate them in your Developer Dashboard every few months
⛔️ Wrong Bearer Token Format: Should start with “Bearer ” (with a space). If it says “invalid,” check this first
⛔️ Headers Typo: “Authoriztion” instead of “Authorization” will silently fail
⛔️ JSON Syntax Errors: A missing comma or quote breaks everything. Test in jsonlint.com first
⛔️ Hitting Rate Limits: X throttles requests. The free tier allows 300 requests per 15 minutes. If automating rapidly, add delays between posts
Scaling Your Automation: From One Post to 500 Per Month
Once your first post works, scale by:
- Create Multiple Content Sources: Connect different data sources (Sheets, Airtable, Zapier webhooks) to one scenario
- Add Scheduling: Use Make.com’s “Schedule” trigger to post at optimal times (9 AM IST for India audience, for example)
- Use Filters: Create conditions (if engagement > 100 likes, then quote tweet)
- Batch Posting: Build a scenario that posts 5 times daily, staying well under your 500/month quota
Why This Method Beats Expensive Tools
Comparing costs and features:
| Feature | Your Make Method | Buffer/Hootsuite | Zapier + X | Third-Party X Service |
|---|---|---|---|---|
| Monthly Cost | ₹312–749 ($3.75–$9) | ₹6,000+ ($72+) | ₹1,200+ ($15+) | ₹35,000+ ($500+) |
| Posts/Month | 500 (free tier) | Unlimited | 100–500 | Unlimited |
| Image Support | ✅ Yes | ✅ Yes | ✅ Yes | ✅ Yes |
| Scheduling | ✅ Yes | ✅ Yes | ✅ Yes | ✅ Yes |
| Multi-Source Content | ✅ Yes | Limited | ✅ Yes | Limited |
| Learning Curve | 30 mins | 10 mins | 2 hours | 15 mins |
The trade-off? You spend 30 minutes learning HTTP basics instead of relying on drag-and-drop interfaces. But once set up, your automation runs indefinitely without platform fees.
Ethical Considerations and X.com’s Rules
Before you automate everything, know X’s automation guidelines:
👉 Automated posts are fine—X expects them
👉 Avoid spam patterns (same post repeated, aggressive follows, bot-like behavior)
👉 Disclose when bots create content (good practice for credibility)
👉 Don’t use automation to evade platform rules
👉 Respect rate limits—if X throttles you, back off for 15 minutes
Your Make.com automation respects all these limits automatically. The 500 posts/month is X enforcing this—you can’t exceed it even if you wanted to.
The Bottom Line: Free Automation Without the Headache
Automating X.com posts doesn’t require coding, expensive tools, or technical wizardry. Using Make.com’s HTTP module and X’s free API, you’ve got a powerful system that costs ₹312–749 ($3.75–$9) monthly and scales to 500+ posts per month. From scheduling daily content to pulling posts from your RSS feed, you’re building the same system enterprise companies use—but at indie prices.
Start by setting up your X Developer account today, grab your API credentials, and build your first scenario. Within 30 minutes, you’ll have your first automated post going live. From there, the possibilities expand: connect Google Sheets for bulk scheduling, integrate AI tools for content generation, or build a full content distribution network across multiple platforms—all from Make.com’s no-code canvas.
X (Twitter) API Integration for Boost.space – Auto-Post & Media
Connect X (formerly Twitter) to your Boost.space account to automate posts, upload large media files, and engage with your audience. This custom app gives you full control by letting you use your own X API credentials.
- 🚀 Post & Engage: Automate the creation of posts, polls, likes, and reposts.
- 📸 Advanced Media Workflow: A complete set of modules to upload large videos and images, add Alt Text, and check processing status.
- 🔑 Own Your API Limits: Connect your own X Developer App to use your personal API quota, perfect for the Free Tier.
Getting Started:
- First, get your free Boost.space account if you don’t have one.
- Create a free app on the X Developer Portal.
- Set permissions to “Read and write” and configure the app as a “Web App”.
- Copy your Client ID and Client Secret into the connection settings as guided by the help text.
- Start automating!